Repairing the paper
I can't believe it is June already — I have been busy working on the curtains for over six months and have now repaired one of the two curtains, plus the outer and inner valance. I have been posting updates on Instagram, Twitter and Facebook, so if you would like to see more before-and-after images, take a look or start following me.
The net and silk linings have been removed to allow access to the paper, and to repair all the tears — and there were many tears to repair. Originally the curtains would have just been the paper; the net and silk linings were sewn on sometime in the middle of the 20th century to help protect the paper and hold it together — conservation, really.
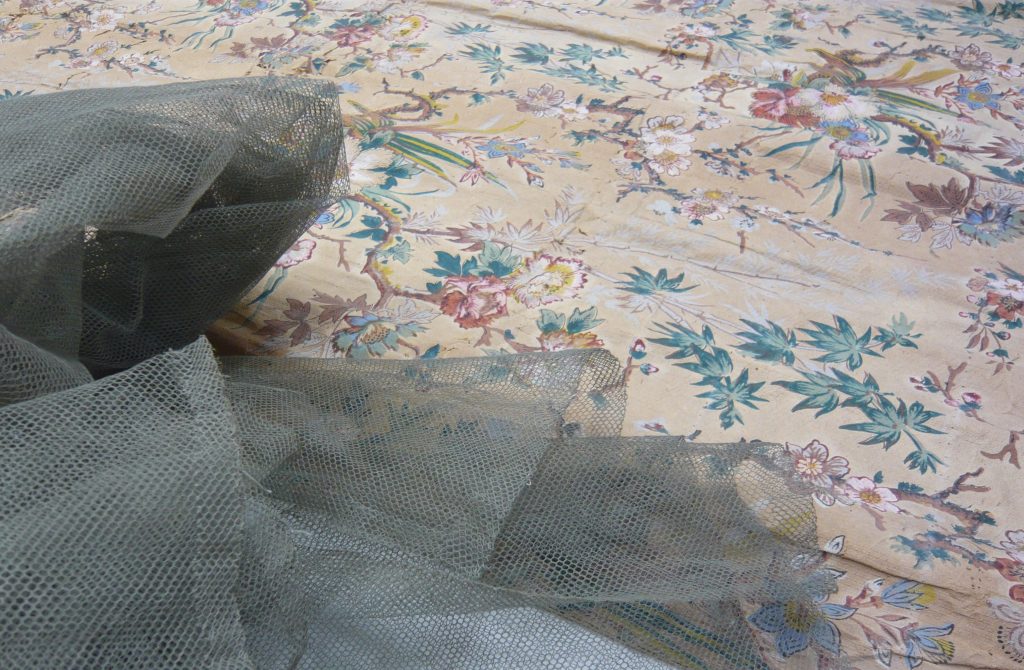
Removing the net has revealed that the curtains have been folded up and stored for some time. The tears in the paper correspond closely to creases and folds still evident in the paper. There is the possibility that the curtains were bought and used, then folded and stored, and adapted in the 1930s into their current form around the single bed in the Naples bedroom. On the curtain in particular, you can see where they were handled to open and close: there are more tears, and the paper is more yellowed and discoloured in the centre of the edges — the yellowing caused by dirt and sweat from the hands.
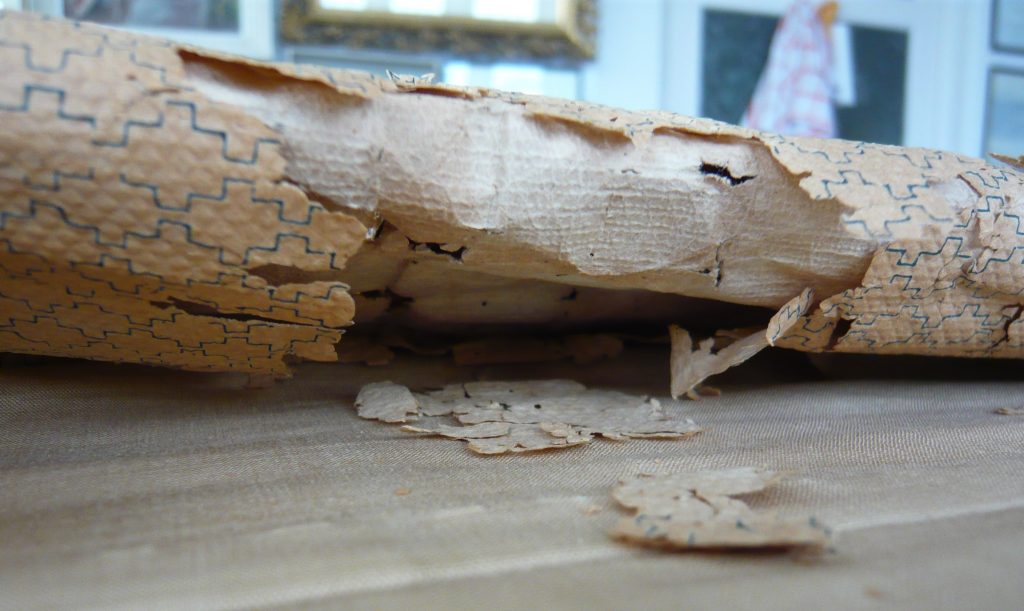
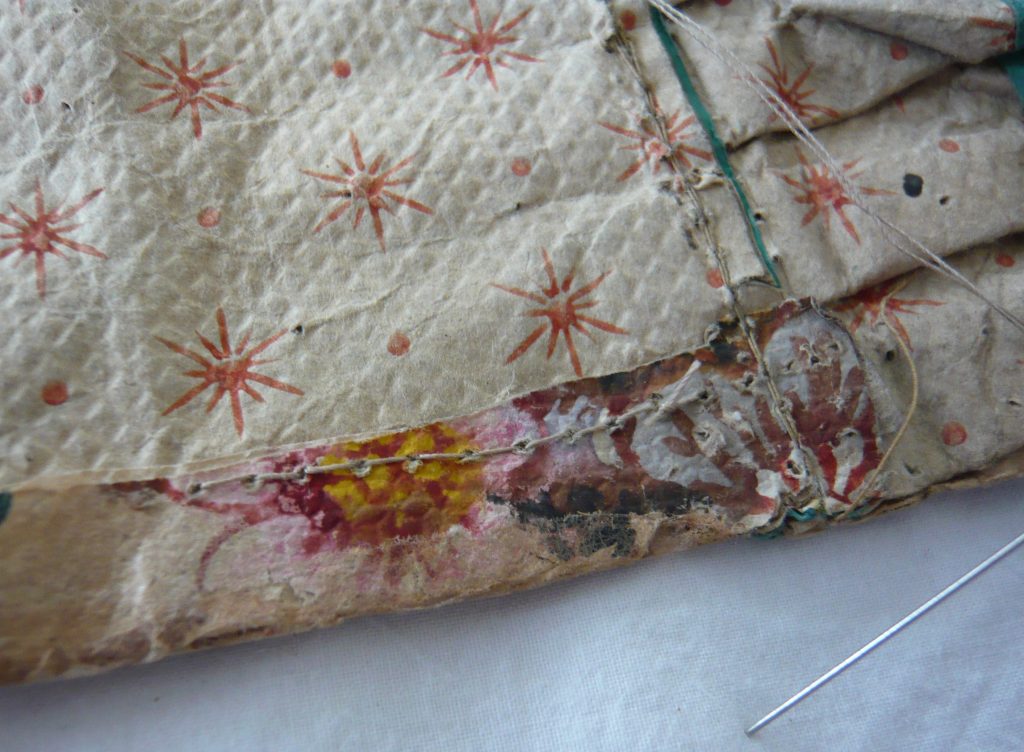
I had to test what was going to be the best material and method to use to repair the paper. In some areas the paper is so weak and crumbly that it is easily torn; without the net and the lining, the curtain was even more fragile, and there was no way it would take its own weight without them. There is also evidence the net and lining have done a good job of supporting the paper and holding the fragile layers together: there is no tearing or pulling from the stitches used to sew them on.
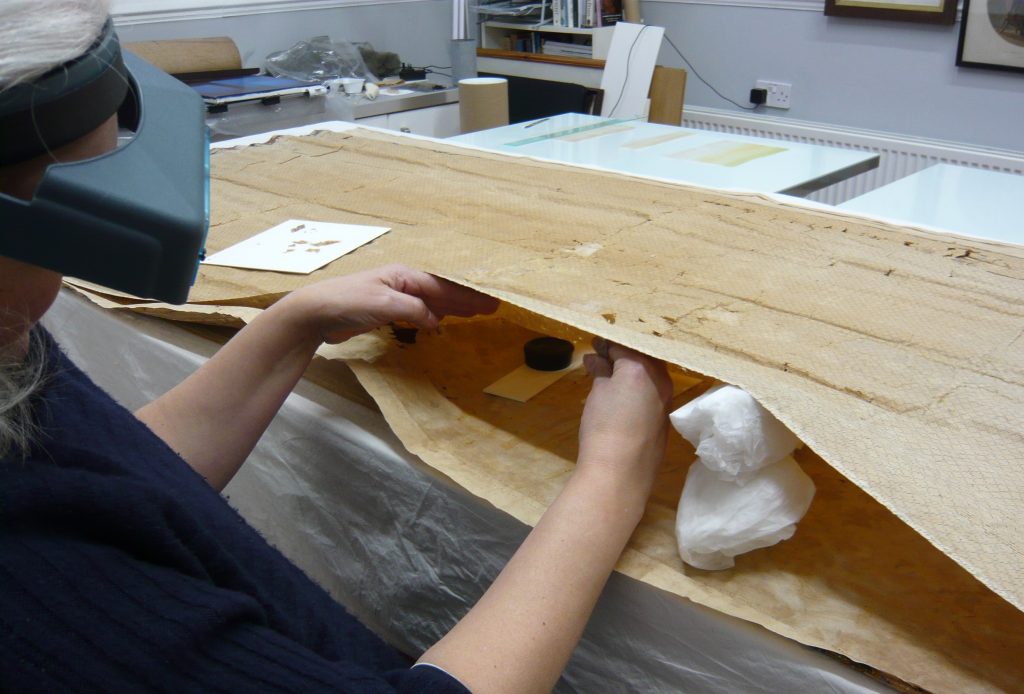
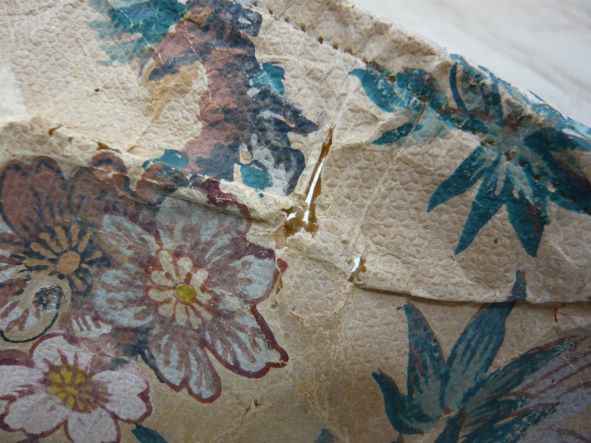
Having thoroughly tested all options, I decided the best way to repair the layers of the paper was with a very fine tissue (only 5gsm), toned with inks and coated with an acrylic adhesive. The pre-made tissue was allowed to dry; strips were then cut to the size required for each tear, and the adhesive reactivated by warming with a heated spatula, sticking the repair tissue over the tear. Careful warming of the tissue on a soft felt layer beneath helped to retain the embossed pattern on the curtain paper.

This method avoided using any moisture near the paper and allowed me to work quickly and efficiently — as there was rather a lot required.
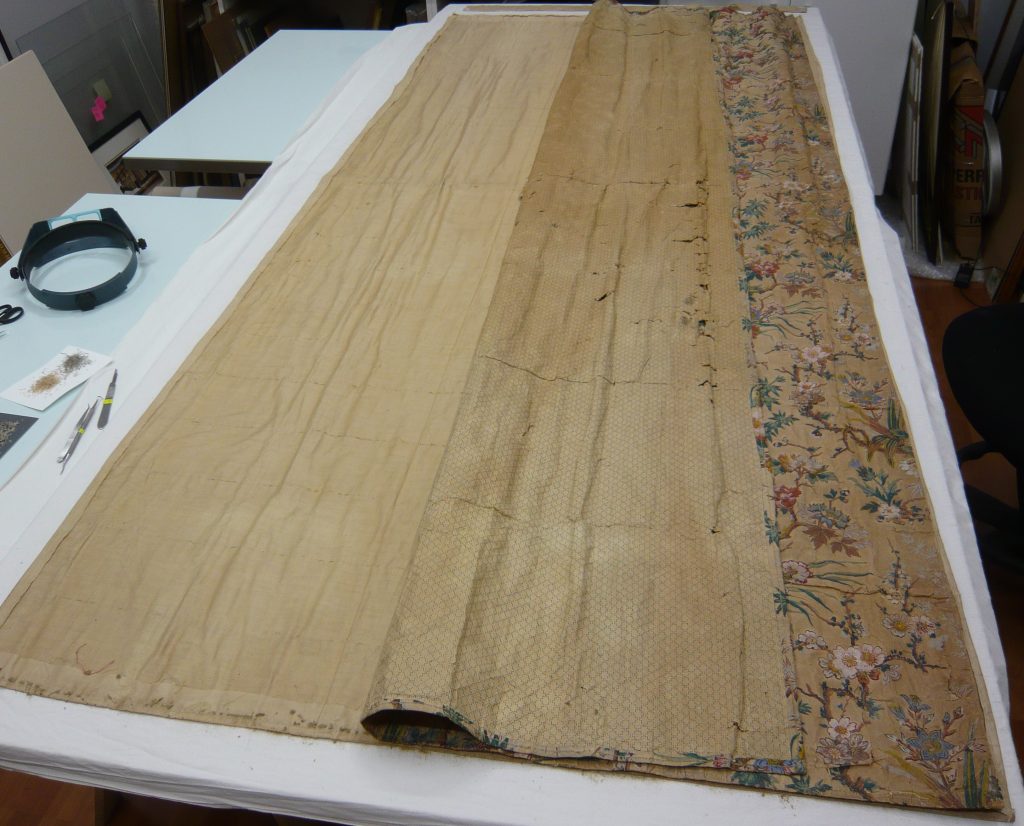
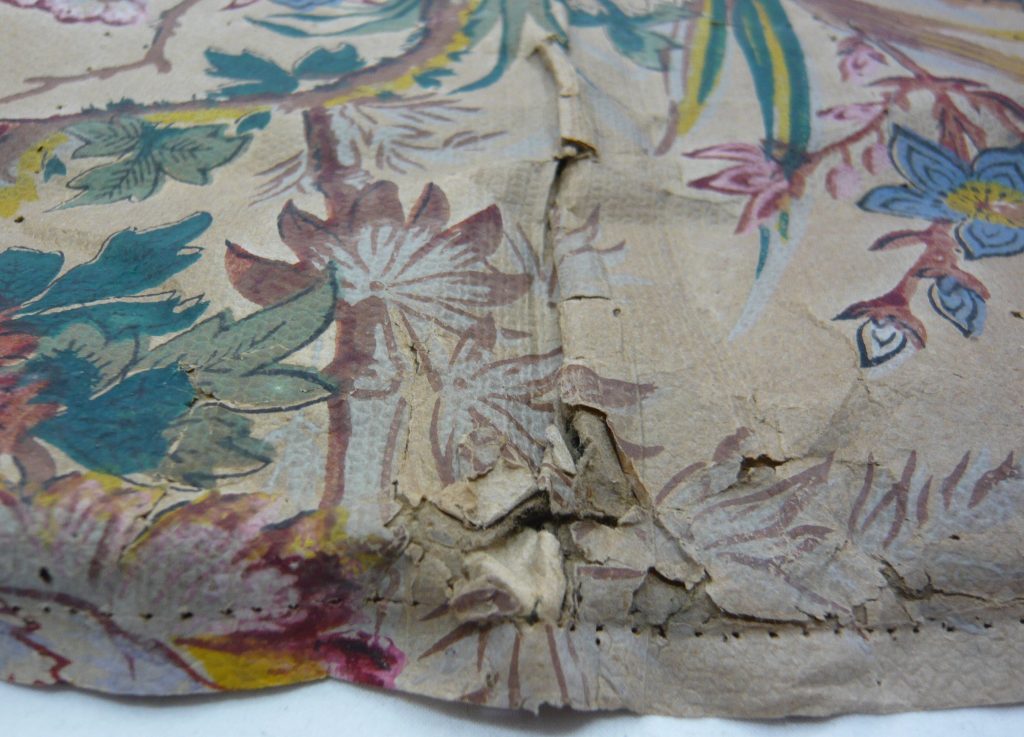
The curtains are made of two layers of paper: the chintz pattern and a geometric repeat pattern. (The valances had a thicker card between the two layers to stiffen the construction.) The two layers were hemmed together by machine stitching. Where a larger area of paper was needed, the paper was machine-stitched together. The paper was produced on a roll about 51cm wide — the width of average wallpaper.
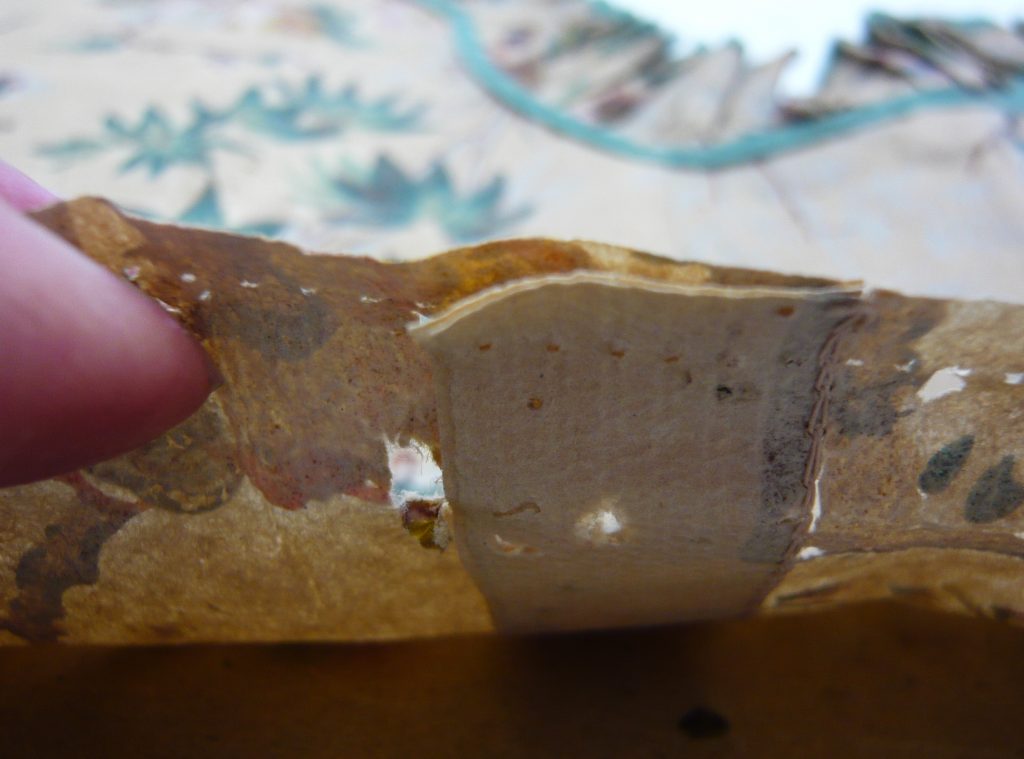
Where possible, I unpicked the hems of the paper and was able to repair the tears from the inside. This was not possible for every tear; some had to be repaired or reinforced on the front face. But because I had toned the paper in various shades to blend with the original, the repairs were virtually unnoticeable. The outside layer of paper on the hem needed to be repaired and reinforced, as it had worn through completely along much of its length.
Underside edge of paper before repair 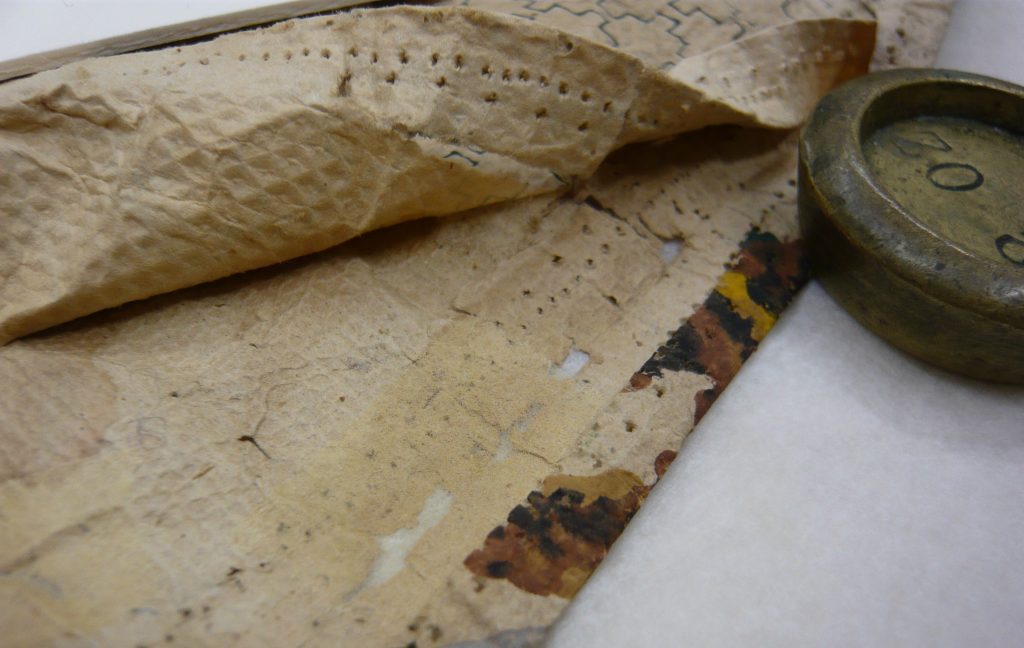
The same area of paper after repair
It was not felt acceptable to thoroughly unstitch the curtains or valances, as this would have been very invasive and could have caused complications when trying to reconstruct.
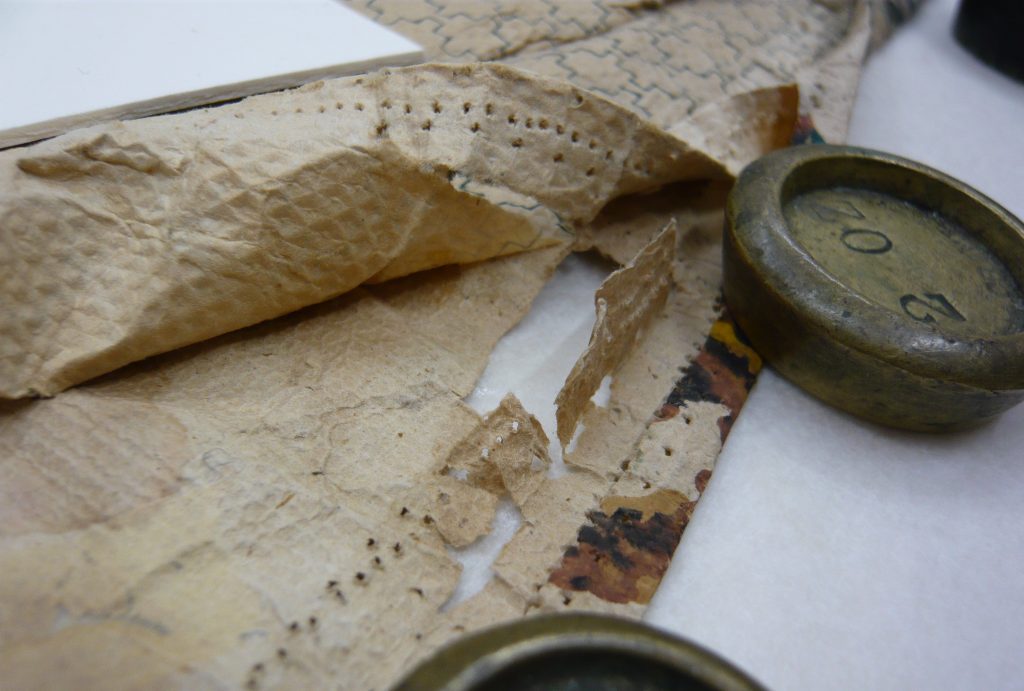
Before repair 
After repair
Before repair 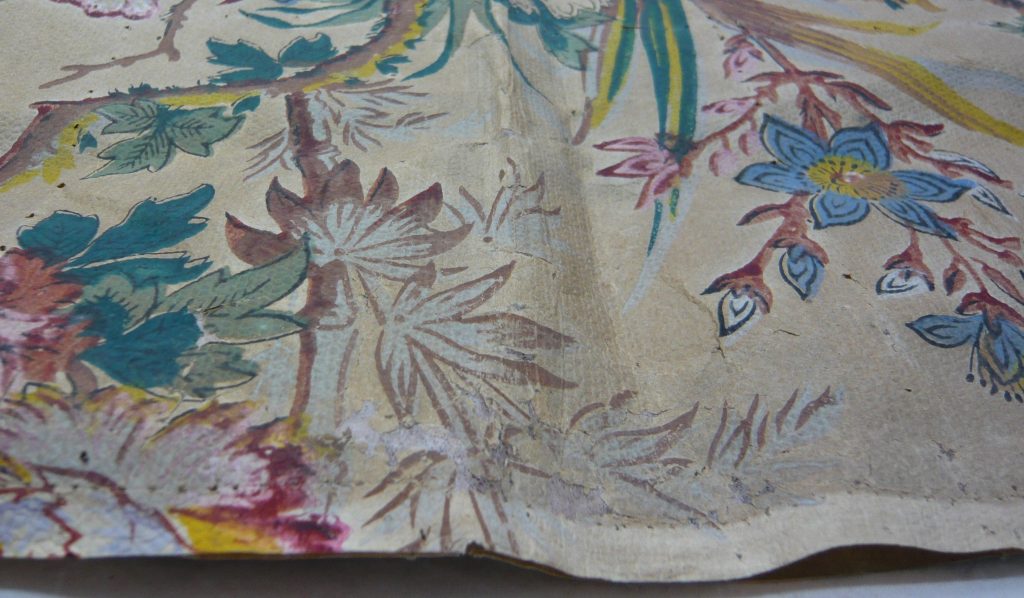
After repair
Once repaired, the curtain was much easier to handle and now felt like a textile curtain rather than a lace one. The repair process has taken many hours to complete. Although I am a paper conservator, I have enjoyed developing my sewing skills. Although originally machine-stitched, there was no way I could have used a machine to hem the curtains back together, so the hems were hand-stitched after repair was completed, using the original sewing holes as much as possible.
Many thanks to Phedra Komodromou, a student from Cardiff University, who assisted on this project and features in the images above.